Turn Spare PCs into a Local LLM Server: AI Linux Automated Installer Guide
[!NOTE]
Current Verification Status:
The complete installation pipeline has been verified on VM CPU environments. Driver auto-deployment logic for NVIDIA and AMD GPUs is integrated, but exact behavior remains subject to specific hardware configurations and ongoing bare-metal testing.
Many enthusiasts and developers have idle desktop PCs, retired workstations, or spare GPU rigs sitting around, hoping to transform them into dedicated 24/7 local Large Language Model (LLM) inference servers.
However, for those without extensive Linux experience, the setup process is notorious for frustrating bottlenecks: partitioning disks, configuring SSH, resolving NVIDIA or AMD GPU driver conflicts, setting up CUDA or ROCm toolchains, and compiling inference runtimes from source. A single kernel mismatch or missing dependency can derail hours of effort.
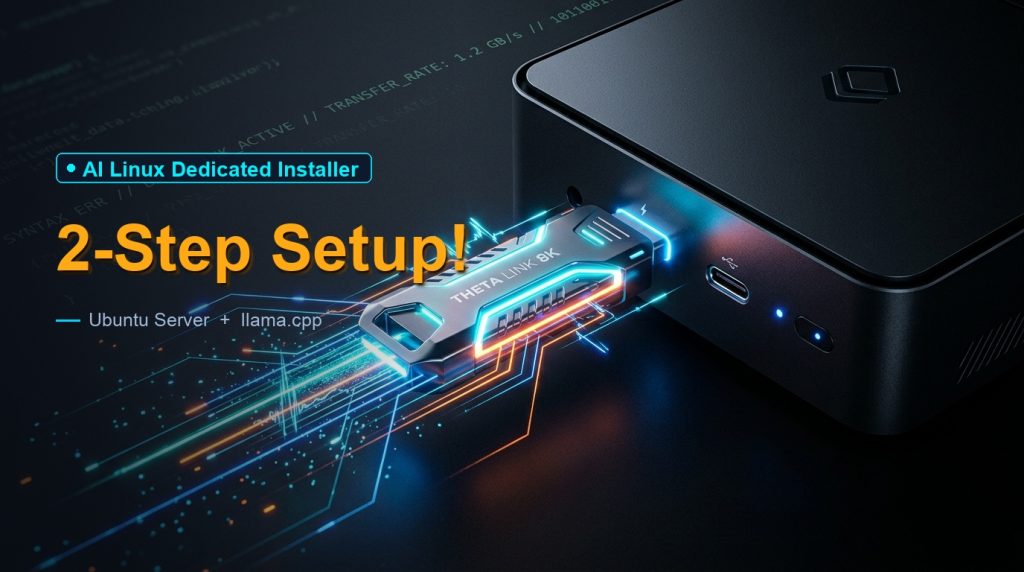
To remove this barrier entirely, we created an automated, purpose-built installation medium: AI Linux Installer, based on Ubuntu Server LTS. Users only need to complete two basic interactive prompts—creating an account and selecting a destination drive. The entire OS deployment, hardware detection, driver configuration, and AI runtime setup are handled automatically.
1. Core Architecture & Features
This installer is built on top of Ubuntu Server 24.04 LTS, strictly streamlined for dedicated local AI inference:
- Zero Desktop Overhead: Completely stripped of graphical desktop environments, eliminating GUI resource consumption and leaving all CPU cycles, memory, and VRAM exclusively to LLM inference.
- Automatic Hardware Detection: Identifies whether the host contains NVIDIA discrete GPUs, AMD discrete GPUs, or pure CPU hardware, dynamically dispatching the appropriate driver installation and hardware acceleration stack.
- Built-in Inference Engine: Natively compiles and optimizes
llama.cpp, providing rock-solid support for popular GGUF quantized models (such as DeepSeek, Qwen, and Llama) along with an OpenAI-compatible API server. - Unified
aiManagement CLI: Encapsulates essential administrative commands into a singleaibinary—inspect system health, list models, launch background API services, and run diagnostics without memorizing complex parameters.
2. Prerequisites & Hardware Recommendations
1. Hardware Recommendations
- Host Machine: Any 64-bit x86 computer (desktop, laptop, mini PC, workstation, or rack server).
- RAM Recommendations:
- System Minimum: 8GB RAM;
- 7B / 8B Models: 16GB+ RAM recommended;
- 14B Models: 24GB – 32GB+ RAM recommended;
- Larger Models: Scale accordingly depending on quantization level (e.g., Q4/Q8) and target context window length.
(Note: When model weights are primarily offloaded to dedicated GPU VRAM, system RAM requirements will vary; adjust based on real-world workload). - Storage: One dedicated drive for OS installation (Important: The installation will format the target drive; backup any critical data beforehand).
- USB Flash Drive: A standard USB drive (8GB or larger).
2. Downloading the ISO Image
The pre-built installation ISO image is available via cloud storage:
📦 AI Linux Installer (ISO) Download:
* Cloud Mirror (Quark Drive): https://pan.quark.cn/s/ce43cea2083b
* Mobile APP Passcode:祄另七并枫并诶提词七五汢 /~e6433atcKP~:/
3. Creating the Bootable USB Drive
Use trusted open-source flashing tools like Rufus (Windows) or BalenaEtcher (macOS / Windows):
- Insert your USB flash drive;
- Select the downloaded
AI-Linux-Installer.iso; - Critical Tip for Rufus: If prompted to choose between ISO mode and DD mode, select “DD mode” for this test version to prevent Rufus from altering the custom hybrid ISO filesystem;
- Flash the drive and safely eject it once completed.
3. Minimal 2-Step Installation Walkthrough
The installation preserves only two essential interactive confirmation steps—safeguarding existing secondary drives while allowing you to configure administrator credentials.
Boot from USB
     ↓
Select "AI Linux Installer" in GRUB
     ↓
Step 1: Configure Username & Password
     ↓
Step 2: Select Target Destination Drive
     ↓
Automated Partitioning & Base OS Setup
     ↓
System Reboots Automatically
     ↓
Enters First-Boot Hardware Initialization
Step 1: Boot from USB and Select Menu
Insert the bootable USB into the target computer. Power on the machine and press the boot menu hotkey (F12, F11, Del, or F2, depending on your motherboard). Choose the USB drive (preferably the item with the UEFI prefix).
At the GRUB boot menu, press Enter on the first item: AI Linux Installer.
Step 2: Identity & Storage Selection
Once the automated installer loads, only two brief screens require input:
- Identity: Enter your name, server hostname (e.g.,
ai-server), administrator username, and password; - Storage: Use the arrow keys to highlight the physical drive intended for the OS, then confirm.
[!IMPORTANT]
Hands off the keyboard!
After confirming storage, the installer proceeds unattended—partitioning drives, installing packages, and configuring the network.Important Note on First Reboot:
When base installation completes, the computer will reboot automatically. If your machine loops back into the USB installer screen, unplug the USB flash drive or select the internal system drive from the BIOS boot menu. Do not run the installer again.
4. First Boot: Hardware Adaptation & Automatic Reboot
Once the machine boots into the internal drive for the first time, an automated background service (ai-firstboot) assumes control:
- Dedicated NVIDIA / AMD GPU Path: The system silently identifies the GPU and pulls official drivers or ROCm acceleration libraries. Once kernel modules are built, the system automatically triggers a one-time reboot to load the new modules into the Linux kernel before proceeding to runtime compilation.
- Pure CPU Path: If no discrete GPU is detected, the installer skips driver installation and reboot cycles, advancing directly into stage 2 to build a CPU-optimized runtime.
[!TIP]
If you have a discrete GPU installed and observe the screen going black followed by an unexpected automatic reboot, do not cut the power. This is an expected step required for kernel driver initialization.
When setup concludes, the console displays a welcoming system status banner (MOTD):
╔══════════════════════════════════════════════════════════════╗
║                     🚀 AI Linux Server Ready                 ║
╠══════════════════════════════════════════════════════════════╣
║                                                              ║
║  Local IP:    192.168.1.100                                  ║
║  GPU Status:  Detected / Ready                               ║
║  Runtime:     llama.cpp (Hardware Accelerated)               ║
║  Model Dir:   /models/                                       ║
║                                                              ║
║  Quick Commands:                                             ║
║    • ai status                  Inspect hardware & services  ║
║    • ai models                  List available GGUF models   ║
║    • ai serve /models/xx.gguf   Launch LAN API server        ║
║    • ai doctor                  Inspect logs & health check  ║
║                                                              ║
╚══════════════════════════════════════════════════════════════╝
5. Out-of-the-Box Operation: The ai CLI
You can interact with the machine directly via its physical keyboard and monitor, or remotely from your primary workstation terminal over SSH:
The system bundles a lightweight command-line tool, ai, eliminating the need to memorize complex backend flags:
1. Check System and Runtime Status: ai status
ai status
Outputs the current OS release, CPU model, total memory, assigned local IP address, GPU detection status, and runtime readiness.
2. Inspect and Store Models: ai models
A centralized directory is provisioned at /models. You can transfer downloaded .gguf weight files into this directory via SFTP or fetch them directly with wget or curl:
# List all GGUF models and file sizes in /models
ai models
3. Launch an OpenAI-Compatible API Server: ai serve
Start an inference endpoint with a single command:
ai serve /models/qwen2.5-7b-instruct-q4_k_m.gguf
The system spins up an OpenAI-compatible API server listening on port 8000, ready to handle incoming chat and completion requests across your local network.
6. Connecting from Your Primary PC or Mobile Device
Once the API server is up, the host operates as a headless compute backend. You can connect to it using any client application supporting custom OpenAI endpoints (such as Chatbox, NextChat, or Open-WebUI):
- Provider / API Type: Select
OpenAI API; - Base URL / Endpoint: Point to the server’s local IP address:
text

   http://192.168.1.100:8000/v1
(Replace with the actual local IP displayed in your MOTD banner) - API Key: The local server requires no authorization by default; enter any arbitrary placeholder string (e.g.,
sk-local); - Model Name: Enter the identifier corresponding to your loaded model.
[!TIP]
Key Benefits of Local Inference: Enjoy zero cloud API rate limits, no subscription fees, and complete data privacy—all prompts and generated responses remain within your local network.
7. Frequently Asked Questions (FAQ)
Q1: Can I use this installer on a mini PC without a dedicated GPU?
Answer: Absolutely. If the first-boot routine detects no NVIDIA or AMD graphics card, it falls back to a CPU-optimized runtime pipeline. It comfortably handles 0.5B to 7B parameter models for lightweight everyday tasks.
Q2: What is the easiest way to transfer GGUF models to the server?
Answer: Use an SFTP client with a graphical interface (e.g., WinSCP on Windows or Cyberduck on macOS). Connect using your server’s IP address, username, and password, then drag and drop .gguf files straight into the /models directory.
Q3: What should I do if the runtime fails to initialize?
Answer: Run the built-in diagnostic tool:
ai doctor
This utility quickly displays your GPU classification, runtime status, and recent deployment logs (/var/log/ai-installer.log), making it straightforward to isolate root causes.
Summary
The core philosophy behind AI Linux is simple: package the tedious layers of Linux deployment, kernel driver installation, and source compilation into a clean, automated installer. This enables anyone to turn idle hardware and existing GPUs into a high-performance, private LLM node with minimal friction.
About The Author